
More products and manuals for Televisions Bang & Olufsen
| Models | Document Type |
|---|---|
|
BeoVision 7-32 Supplement |
User Manual
8 pages |
|
BeoVision 7-32 Supplement |
User Manual
8 pages |
|
BeoVision 7-32 User Guide |
User Manual
28 pages |
|
BeoVision 7-32 User Guide |
User Manual
28 pages |
|
BeoVision 7-32 User Guide |
User Manual
28 pages |
|
BeoVision 7-32 User Guide |
User Manual
28 pages |
|
BeoVision 7-32 User Guide |
User Manual
28 pages |
|
BeoVision 7-32 User Guide |
User Manual
28 pages |
|
BeoCenter 6-26 |
User Manual
20 pages |
|
BeoCenter 6-26 |
User Manual
20 pages |
|
BeoCenter 6-26 |
User Manual
20 pages |
|
BeoCenter 6-26 |
User Manual
20 pages |
|
BeoSystem 1 |
User Manual
52 pages |
|
BeoSystem 1 |
User Manual
52 pages |
|
BeoSystem 3 Getting Started |
User Manual
32 pages |
|
BeoSystem 1 |
User Manual
52 pages |
|
BeoSystem 3 Getting Started — No ATSC |
User Manual
28 pages |
|
BeoSystem 3 Getting Started |
User Manual
32 pages |
|
BeoSystem 3 Getting Started |
User Manual
28 pages |
|
BeoSystem 3 Getting Started — No ATSC |
User Manual
28 pages |


BeoVision 7


This Getting Started contains information about the daily use of your Bang&
Olufsen product and connected equipment. We expect your retailer to deliver,
install and set up your product.
Your television offers more features and functions than described in this Getting
Started. Among other things; Timer functions and auto standby, editing and
naming channels. These and other features are described in more detail in the
product’s Guide.
The Guides are found on www.bang-olufsen.com/guides.
The Guides are also kept up to date if new software introduces new or modied
features and functions in your television.
On www.bang-olufsen.com you can also nd further information and relevant
FAQs about your product.
Your Bang& Olufsen retailer is your rst stop for all your service queries.
To nd your nearest retailer, visit our website…
www.bang-olufsen.com
Dear Customer
3510584 1007
Technical specications, features and the use
thereof are subject to change without notice.
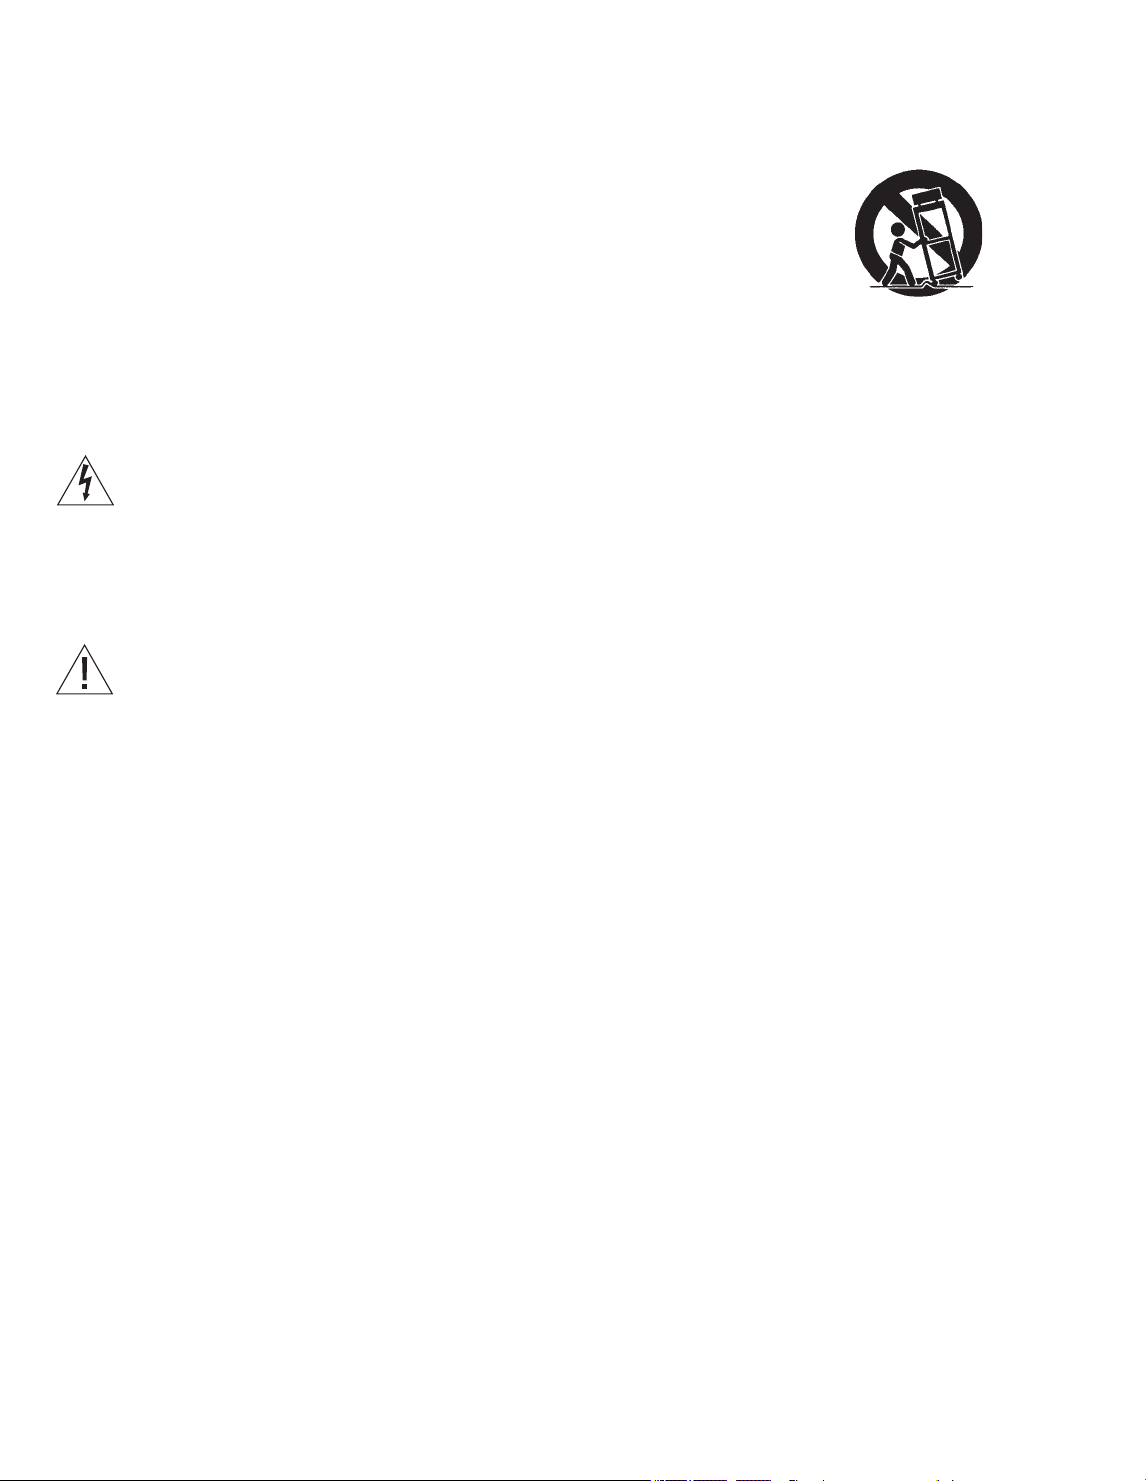
WARNING: To reduce the risk of fire or
electric shock, do not expose this
appliance to rain or moisture. Do not
expose this equip ment to dripping or
splashing and ensure that no objects
filled with liquids, such as vases, are
placed on the equipment.
To completely disconnect this equipment
from the AC Mains, disconnect the mains
plug from the wall socket. The disconnect
device shall remain readily operable.
The lightning flash with arrowhead
symbol within an equilateral triangle,
is intended to alert the user to the
presence of un insulated “dangerous
voltage” within the product’s en-
closure that may be of sufficient
magnitude to constitute a risk of
electric shock to persons.
The exclamation point within an equi—
lateral triangle is intended to alert the
user to the presence of important
operating and main tenance (servicing)
instructions in the literature
accompanying the product.
Read these instructions.
Keep these instructions.
Heed all warnings.
Follow all instructions.
Do not use this apparatus near water.
Clean only with dr y cloth.
Do not block any ventilation openings. Install in
accordance with the manufacturer’s instructions.
Do not install near any heat sources such as
radiators, heat registers, stoves, or other
apparatus (including ampliers) that produce heat.
Do not defeat the safety purpose of the polarized
or grounding-type plug. A polarized plug has two
blades with one wider than the other. A
grounding type plug has two blades and a third
grounding prong. The wide blade or the third
prong are provided for your safety. If the provided
plug does not t into your outlet, consult an
electrician for replacement of the obsolete outlet.
Protect the power cord from being walked on or
pinched particularly at plugs, convenience
receptacles, and the point where they exit from
the apparatus.
Only use attachments/accessories specied by the
manufacturer.
Use only with the cart, stand, tripod, bracket, or
table specied by the manufacturer, or sold with
the apparatus. When a cart is used, use caution
when moving the cart /apparatus combination to
avoid injury from tip-over.
Unplug this apparatus during lightning storms or
when unused for long periods of time.
Refer all servicing to qualied service personnel.
Servicing is required when the apparatus has been
damaged in any way, such as power-supply cord
or plug is damaged, liquid has been spilled or
objects have fallen into the apparatus, the
apparatus has been exposed to rain or moisture,
does not ope rate normally, or has been dropped.
The mains plug of the power supply cord shall
remain readily operable.
Do not expose batteries or battery packs to
excessive heat such as sunshine, re or the like.
Follow instructions to ensure correct and safe
installation and interconnection of equipment in
multimedia systems.

Daily use
Contents
Daily use
6 How to use your remote control
8 Introduction
10 Watch television
12 Watch television via the digital tuner
14 Use the Blu-ray player
16 Change sound type and picture format
17 Use the Adaptive Sound Technology
Installation
20 Set up your television
21 Cleaning
22 Connection panels – BeoVision7–55
24 Connection panels – BeoVision7–40
26 First-time setup of your television
Cautions
– Ensure that the television is positioned, set up
and connected in accordance with the
instructions in this Getting Started. To prevent
injury, use Bang & Olufsen approved stands and
wall brackets only!
– Place your television on a rm, stable surface.
– Do not place any items on top of your television.
– Do not subject the television to rain, high
humidity or sources of heat.
– The television is developed for indoor use in dry,
domestic environments only. Use within a
temperature range of 50–105°F (10–40°C), and
at an altitude of no more than 5,000ft
(1,500m).
– Do not place the television in direct sunlight or
direct articial light, such as a spotlight, as this
may reduce the sensitivity of the remote control
receiver. Also if the screen is overheated, black
spots may appear in the picture. These spots
disappear again, once the television cools down
to normal temperature.
– Leave enough space around the television for
adequate ventilation.
– Connect all cables before connecting or
reconnecting any of the products in your system
to the mains.
– No naked ame sources, such as lighted candles
should be placed on the apparatus.
– Do not attempt to open the television. Leave
such operations to qualied service personnel.
– Do not strike the glass with hard or pointed
items.
– The television can only be switched off
completely by disconnecting it from the wall
socket.
– The disconnect device shall remain readily
operable.
– The supplied mains cord and plug are specially
designed for the television. If you change the
plug or in any way damage the mains cord, it
can affect the TV performance.
STOP
PLAY
BACK
Living Room
TV V.MEM RADIO
DTV N.MUSIC N.RADIO
PC DVD CD
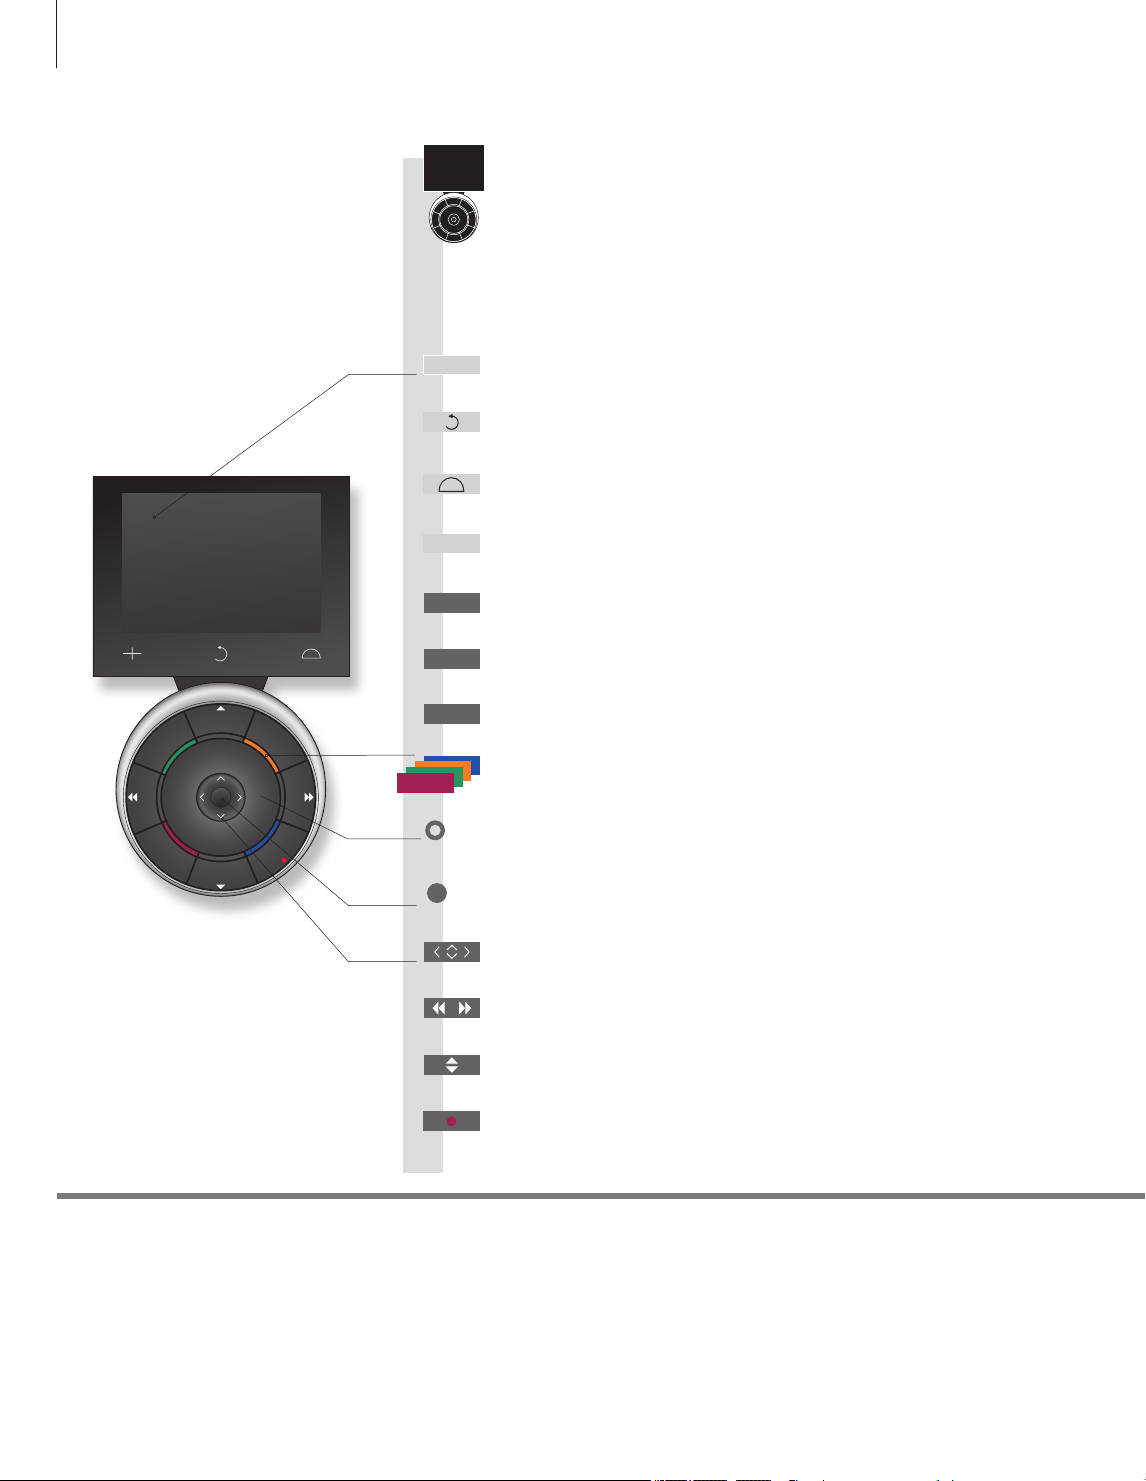
How to use your remote control
Important
– for more information: www.bang-olufsen.com
1*
About buttons
2*
Coloured buttons
Actual zone
Soft buttons on Beo5
Light grey buttons indicate that you have to press a text in the display. Dark grey buttons indicate that you have to
press a hard button.
Press the wheel next to the colour to activate a coloured button.
Indicates the actual zone on Beo5 as it was named during the setup process.
Depending on the activated source, different soft buttons appear on the screen. Touch the screen to activate the
function.
Start playback of a disc or recording
Step through channels or recordings
Hold for continuous step
Navigation button left, right, up and down – move in menus by pressing the
button in the direction you need
Standby
Rewind or wind, search backwards or forwards
Pause and stop playback or recording
Soft button, touch screen to select*
1
Switch on a source or select a function
Centre button is used for selecting and accepting
Turn to adjust volume
To mute, turn quickly counter-clockwise
Bring up SCENE buttons, such as Zones or Speaker
Press again to return
Select colour specic functions*
2
Press volume wheel next to the colour
Bring up digits to select channel
Press again to return
Back up through Beo5 displays
Move backwards through menus. Long press to exit menus completely
Beo5 operation
Your television can be operated with the Beo5 remote control.
PLAY
STOP
TV
BACK
+
6
TV LIGHT RADIO
DTV DVD CD
V.MEM TEXT A.MEM
7 8 9
4 5 6
LIST
0
MENU
1 2 3
STOP PLAY
BACK
Daily use
Select colour specic functions
Adjust volume
To mute, press the middle of the button
The Beo4 display shows you the activated source or function
Navigation button left, right, up and down
, , and – move in menus by
pressing the button in the direction you need
Centre button is used for selecting and accepting
Rewind or wind, search backwards or forwards
Start playback of a disc or recording
Switch on the digital tuner
Standby
Bring up the main menu of the active source
Pause and stop playback or recording
Switch on the TV*
3
Select channels and enter information in on-screen menus
Step through channels
Hold for continuous step
Move backwards through menus and the Beo4 list. Long press to exit menus
completely
Beo4 operation
You can also operate your television with a Beo4. When Beo4 operation is
different from Beo5 operation, it is described separately.
Activate Closed Captioning
Display extra “but tons” for functions or sources in the Beo4 display. Use
or to
step in the list
Some buttons can be recongured during the setup process. See the Guide for further information.
NOTE! For general information about remote control operation, see the guide enclosed with your remote
control.
3*
Beo4 buttons
Switch on the optional Blu-ray player
TV
PLAY
TV
DTV
0 – 9
STOP
MENU
BACK
TEXT
LIST
DVD
7

Navigate in menus and select settings using your remote control. Pressing Menu
brings up the menu for the selected source.
Information about the selected source is shown in
the display window to the right. On-screen menus
allow you to adjust settings.
Display and menus
Introduction
Show menu Select TV’s zone Switch on TV
or
Important
Remote control
On the rst pages in this Getting Started, you will nd an overview of the buttons on Beo5 and Beo4.
For general information about remote control operation, see the guide enclosed with your remote
control. This Getting Started and the Guide describe operation with the REMOTE CONTROL menu set to
NAVIGATION BUT TON and the remote control set to MODE1. Do not change MODE during rst-time
setup, as this will interrupt the sequence.
Switch on optional Blu-ray player
… TV Menu
TV SETUP
CHA NNEL SETUP
SLE EP TIM ER
PLAY T IMER
OPT IONS
STAN D POS ITION S
sel ect
DVD
8
Menu name
Menu options
Information eld
Example of on-screen menu

Daily use
When a menu is on the screen, you can move
between menu options, reveal settings or enter
data.
Navigate in menus
Select option/
setting
Enter data Bring up sub—
menu/store
setting
Select option Move
backwards
through menus
or
Press and hold to
exit menus
In the OPTIONS menu, you can bring up the REMOTE CONTROL menu. In this menu you must set up
your television to be operated with or without a navigation button. Remember to set your Beo4 remote
control to the correct mode. See the Beo4 guide or contact your Bang& Olufsen retailer for further
information.
REMOTE CONTROL menu
0 – 9 BACK BACK
9
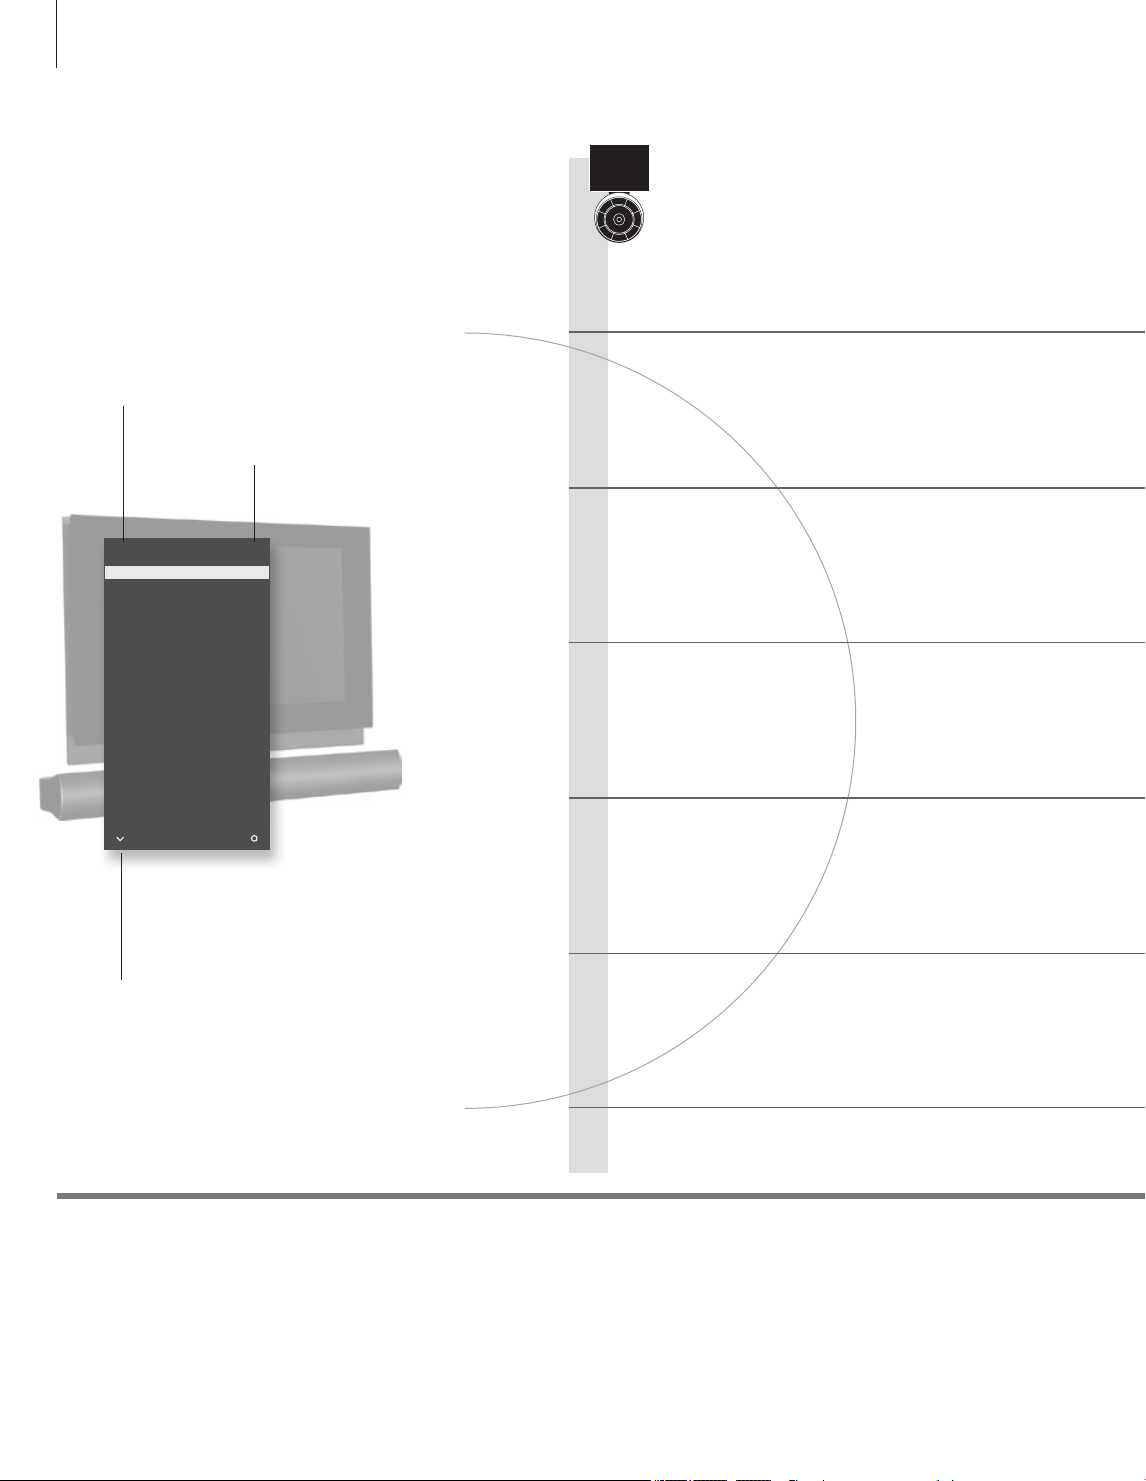
Watch television
Choose a TV channel by its number or switch to another
channel. Adjust the sound volume and turn the TV.
Activate the TV source to use these functions
Switch on the TV
Select a TV channel
Bring up a channel list
Adjust the volume
Turn the TV
Switch off the TV
Useful hints
If your television is equipped with a motorised stand, you can turn it
by means of the remote control
1
*TV positions Position1 is the far left position and Position9 is the far right. Position 5 is the centre position.
Beo5 operation
TV CHANN EL LI ST
CNN 1
… 2
DIS COVER 3
CWN BC 4
BBC WORLD 5
… 6
… 7
… 8
SUP ER CH 9
… 10
CRI ME TV 11
CIN EMA 12
… 13
MOVI E NW 14
… 15
… 16
… 17
… 18
mor e sele ct
10
Channel name
Channel number
Indicates that more channels are
available
 Loading…
| Language | Type | Pages | |
|---|---|---|---|
| English | User Manual | 65 | > Go to the manual |
| German | User Manual | 65 | Go to the manual |
| Dutch | User Manual | 65 | Go to the manual |
| French | User Manual | 65 | Go to the manual |
| Spanish | User Manual | 65 | Go to the manual |
143955
Report abuse
Libble takes abuse of its services very seriously. We’re committed to dealing with such abuse according to the laws in your country of residence. When you submit a report, we’ll investigate it and take the appropriate action. We’ll get back to you only if we require additional details or have more information to share.
Product: Bang Olufsen beovision 7 40
Forumrules
To achieve meaningful questions, we apply the following rules:
- First, read the manual;
- Check if your question has been asked previously;
- Try to ask your question as clearly as possible;
- Did you already try to solve the problem? Please mention this;
- Is your problem solved by a visitor then let him/her know in this forum;
- To give a response to a question or answer, do not use this form but click on the button ‘reply to this question’;
- Your question will be posted here and emailed to our subscribers. Therefore, avoid filling in personal details.
Your question has been posted on this page
Would you like to receive an email when new answers and questions are posted? Please enter your email address.
![]()
Русский
- Bedienungsanleitung Bang Olufsen beovision 7 40
- Bang Olufsen beovision 7 40 User Manual
- Manual Usuario Bang Olufsen beovision 7 40
- Mode d’emploi Bang Olufsen beovision 7 40
- Istruzioni Bang Olufsen beovision 7 40
- инструкция Bang Olufsen beovision 7 40
- Bang Olufsen beovision 7 40の取扱説明書
- Handleiding Bang Olufsen beovision 7 40
- Manual de uso Bang Olufsen beovision 7 40
Вам нужна инструкция? Мы поможем Вам ее найти и сэкономить Ваше время.
- 65 stron
- 2.46 mb
Изделие Bang Olufsen beovision 7 40, а также другие, которыми Вы пользуетесь ежедневно, наверняка вы получили в комплекте с инструкцией обслуживания. Из опыта наших пользователей мы знаем, что большинство из Вас не уделили этому особого внимания. Большая часть инструкций, сразу же после покупки попадает в корзину для мусора вместе с коробкой — это ошибка. Ознакомьтесь с информацией, касающейся инструкции Bang Olufsen beovision 7 40, которая поможет Вам в будущем сэкономить нервы и избежать головной боли.
Важная подсказка — не забывайте хотя бы раз прочитать инструкцию Bang Olufsen beovision 7 40
Если вы не хотите каждый раз читать информационные брошюры, касающиеся, тех или Bang Olufsen beovision 7 40 иных изделий, достаточно, прочитать их раз — сразу же после покупки устройства. Вы получите основное знания, касающиеся поддержания изделия Bang Olufsen beovision 7 40 в хорошем эксплуатационном состоянии, так, чтобы без проблем достигнуть его планируемого цикла работы. Затем инструкцию можно отложить на полку и вернуться к ней только в случае, если вы не уверены, правильно ли проводится техобслуживание изделия. Правильный уход является необходимым элементом Вашего удовольствия Bang Olufsen beovision 7 40.
Раз в году пересмотрите шкафчик, в котором держите инструкции для всех устройств, — выбросите те, которыми вы уже не пользуетесься. Это поможет Вам сохранять порядок в своей домашней базе инструкций обслуживания.
Summary of Contents for Bang Olufsen beovision 7 40
Что находится в инструкции Bang Olufsen beovision 7 40? Почему стоит ее прочитать?
- Гарантия и подробности, касающиеся техобслуживания изделия
Хорошей идеей будет прикрепить чек к странице инструкции. Если что-то плохое случится во время использования Bang Olufsen beovision 7 40, у вас будет комплект документов, необходимый для гарантийного ремонта. В этой части инструкции вы найдете информацию об авторизованных сервисных центрахBang Olufsen beovision 7 40 а также, как самостоятельно правильно ухаживать за оборудованием — так, чтобы не потерять гарантийных прав. - Указания по монтажу и Setup
Не терять нервов и времени на самостоятельную попытку установки и первого запуска изделия. Воспользуйтесь рекомендациями производителя Bang Olufsen beovision 7 40 чтобы правильно запустить изделие, без лишнего риска повреждения оборудования. - Информация, касающаяся дополнительных запчастей (входящих в комплект а также являющихся опцией)
Пересматривая эту часть документа вы сможете проверить, доставлен ли ваш Bang Olufsen beovision 7 40 с полним комплектом аксессуаров. Вы также сможете узнать, какие дополнительные запчасти или аксессуары для Bang Olufsen beovision 7 40 Вы сможете найти и докупить к своему устройству. - Troubleshooting
Самые частые проблемы, касающиеся Bang Olufsen beovision 7 40 и методы их решения. Это очень полезная часть руководства по обслуживанию — она позволит Вам сэкономить много времени на поиск решений. 90% проблем с Bang Olufsen beovision 7 40 повторяется у многих пользователей. - Требования, касающиеся питания и энергетический класс
Информация, касающаяся количества потребляемой энергии, а также рекомендации, касающиеся установки и питания Bang Olufsen beovision 7 40. Прочитайте, чтобы оптимально пользоваться Bang Olufsen beovision 7 40 и не использовать большего количества ресурсов, нежели это необходимо для правильной работы изделия. - Специальные функции Bang Olufsen beovision 7 40
Здесь вы можешь узнать, как персонализировать изделие Bang Olufsen beovision 7 40. Вы узнаете, какие дополнительные функции могут помочь Вам удобно использовать продукт Bang Olufsen beovision 7 40 а также, какие функции Вашего устройства оптимальны для выполнения конкретной деятельности.
Как видите в инструкции вы найдете информацию, которая реально поможет Вам в использовании Вашего изделия. Стоит с ней ознакомиться, чтобы избежать разочарований, возникающих из более короткого, нежели предусматривалось, периода исправности изделия Bang Olufsen beovision 7 40. Если все же вы не хотите копить инструкции в своем доме, наш сайт поможет Вам в этом — вы должны найти у нас руководство по обслуживанию большинства из своих устройств, а также Bang Olufsen beovision 7 40.
Комментарии (0)
-
Bang Olufsen beovision 7 40 — page 1
…
-
Bang Olufsen beovision 7 40 — page 2
…
-
Bang Olufsen beovision 7 40 — page 3
…
-
Bang Olufsen beovision 7 40 — page 4
…
-
Bang Olufsen beovision 7 40 — page 5
…
-
Bang Olufsen beovision 7 40 — page 6
…
-
Bang Olufsen beovision 7 40 — page 7
…
-
Bang Olufsen beovision 7 40 — page 8
…
-
Bang Olufsen beovision 7 40 — page 9
…
-
Bang Olufsen beovision 7 40 — page 10
…
-
Bang Olufsen beovision 7 40 — page 11
…
-
Bang Olufsen beovision 7 40 — page 12
…
-
Bang Olufsen beovision 7 40 — page 13
…
-
Bang Olufsen beovision 7 40 — page 14
…
-
Bang Olufsen beovision 7 40 — page 15
…
-
Bang Olufsen beovision 7 40 — page 16
…
-
Bang Olufsen beovision 7 40 — page 17
…
-
Bang Olufsen beovision 7 40 — page 18
…
-
Bang Olufsen beovision 7 40 — page 19
…
-
Bang Olufsen beovision 7 40 — page 20
…
-
Bang Olufsen beovision 7 40 — page 21
…
-
Bang Olufsen beovision 7 40 — page 22
…
-
Bang Olufsen beovision 7 40 — page 23
…
-
Bang Olufsen beovision 7 40 — page 24
…
-
Bang Olufsen beovision 7 40 — page 25
…
-
Bang Olufsen beovision 7 40 — page 26
…
-
Bang Olufsen beovision 7 40 — page 27
…
-
Bang Olufsen beovision 7 40 — page 28
…
-
Bang Olufsen beovision 7 40 — page 29
…
-
Bang Olufsen beovision 7 40 — page 30
…
-
Bang Olufsen beovision 7 40 — page 31
…
-
Bang Olufsen beovision 7 40 — page 32
…
-
Bang Olufsen beovision 7 40 — page 33
…
-
Bang Olufsen beovision 7 40 — page 34
…
-
Bang Olufsen beovision 7 40 — page 35
…
-
Bang Olufsen beovision 7 40 — page 36
…
-
Bang Olufsen beovision 7 40 — page 37
…
-
Bang Olufsen beovision 7 40 — page 38
…
-
Bang Olufsen beovision 7 40 — page 39
…
-
Bang Olufsen beovision 7 40 — page 40
…
-
Bang Olufsen beovision 7 40 — page 41
…
-
Bang Olufsen beovision 7 40 — page 42
…
-
Bang Olufsen beovision 7 40 — page 43
…
-
Bang Olufsen beovision 7 40 — page 44
…
-
Bang Olufsen beovision 7 40 — page 45
…
-
Bang Olufsen beovision 7 40 — page 46
…
-
Bang Olufsen beovision 7 40 — page 47
…
-
Bang Olufsen beovision 7 40 — page 48
…
-
Bang Olufsen beovision 7 40 — page 49
…
-
Bang Olufsen beovision 7 40 — page 50
…
-
Bang Olufsen beovision 7 40 — page 51
…
-
Bang Olufsen beovision 7 40 — page 52
…
-
Bang Olufsen beovision 7 40 — page 53
…
-
Bang Olufsen beovision 7 40 — page 54
…
-
Bang Olufsen beovision 7 40 — page 55
…
-
Bang Olufsen beovision 7 40 — page 56
…
-
Bang Olufsen beovision 7 40 — page 57
…
-
Bang Olufsen beovision 7 40 — page 58
…
-
Bang Olufsen beovision 7 40 — page 59
…
-
Bang Olufsen beovision 7 40 — page 60
…
-
Bang Olufsen beovision 7 40 — page 61
…
-
Bang Olufsen beovision 7 40 — page 62
…
-
Bang Olufsen beovision 7 40 — page 63
…
-
Bang Olufsen beovision 7 40 — page 64
…
-
Bang Olufsen beovision 7 40 — page 65
…
3.0
Rated 3.0 out of 5
3.0 out of 5 stars (based on 1 review)
Your overall rating
BANG & OLUFSEN BEOVISION 7-40 (01) PDF MANUAL
Click here to download BANG & OLUFSEN BEOVISION 7-40 (01) PDF MANUAL
BANG & OLUFSEN BEOVISION 7-40 (01) PDF MANUAL
FREE ENGLISH PDF
OPERATING INSTRUCTIONS
USER GUIDE – USER MANUAL
OWNER GUIDE – OWNER MANUAL
REFERENCE GUIDE – REFERENCE MANUAL
INSTRUCTION GUIDE – INSTRUCTION MANUAL
Your overall rating
- YouTube
BANG & OLUFSEN BEOVISION 7-40 (01) PDF MANUAL
BANG & OLUFSEN BEOVISION 7-40 (01) PDF MANUAL