


Market With The Villagers
Houses
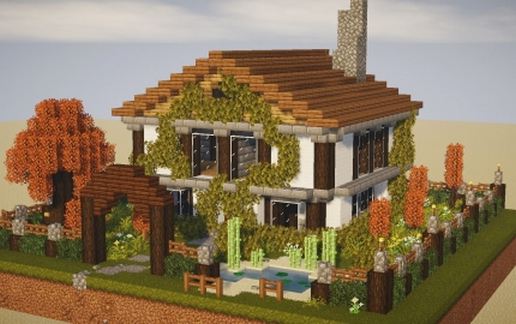
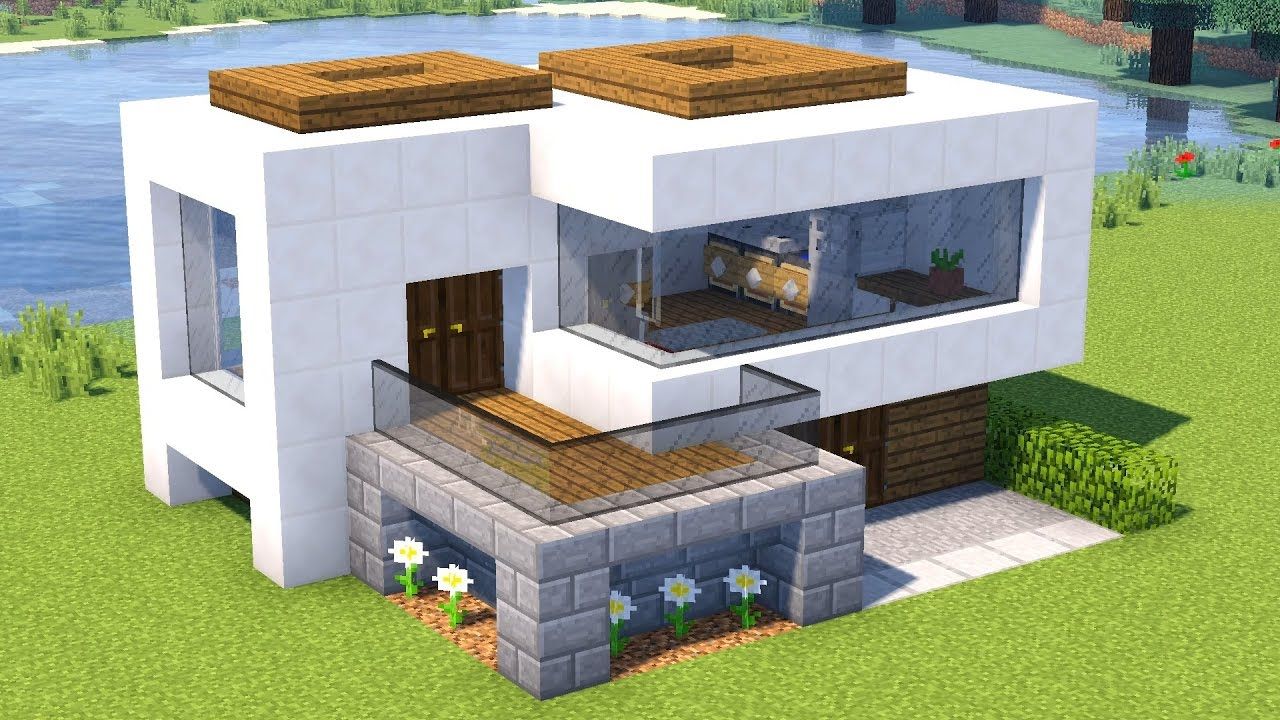
A Small Modern House
Houses

Big Minecraft Modern House
Houses
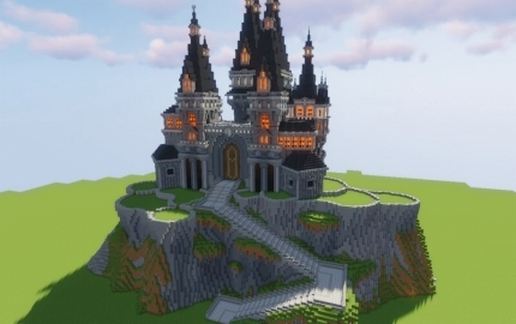
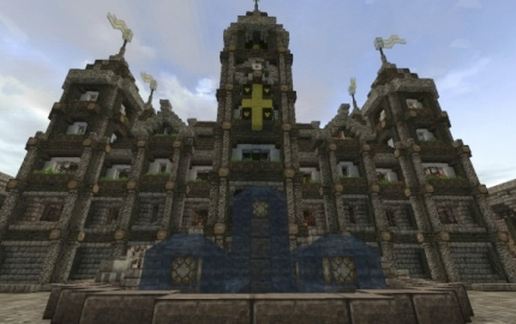
Medieval Castle 3
Castles
Compatible Dark Oak Mansion
Houses
Starting House (Mansion)
Houses
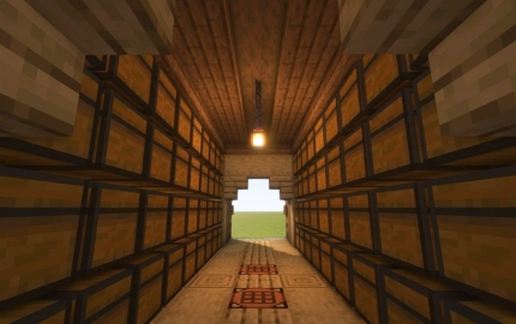
Simple Resource Warehouse
Houses

Iron Man’s Mansion
Houses
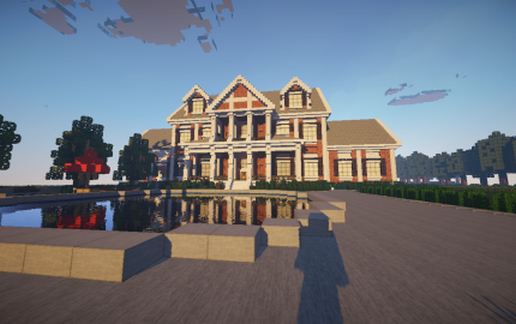
Colonial Mansion 1
Houses
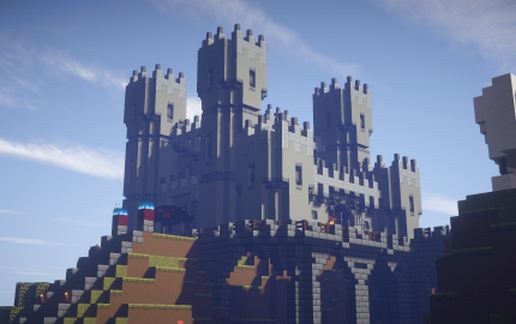
Small/Medium Castle
Castles
Amphitheatre Arena
Arenas
LARGE 3 Story Mansion
Houses
Overgrown Medieval Castle
Castles
Jingle Bells On Note Blocks
Redstone
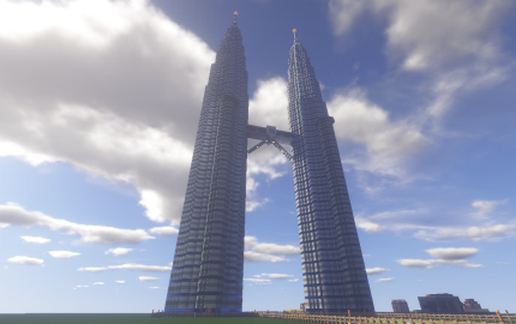
Petronas Twin Towers, Kuala Lumpur, Malaysia
Towers
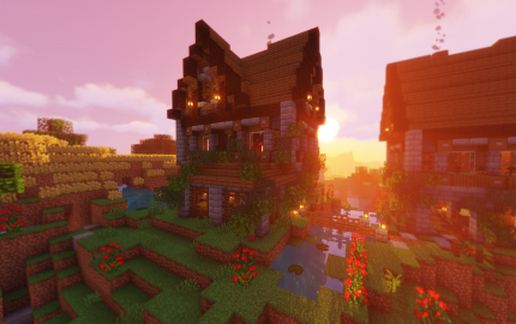
Medieval Spruce Wood House
Houses
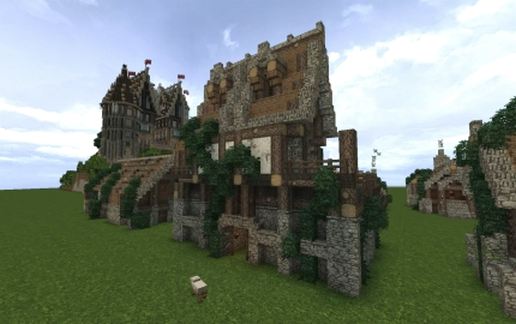
Rustic Mott & Bailey
Castles
European Mansion 2
Houses
Какой майнкрафтер не мечтает о своем большом и красивом доме. Наверное каждого хотя бы раз посещала идея создания прекрасного и уютного дома который будет обставлен мебелью и техникой, где можно без проблем укрыться от орд монстров и скрафтить самые сложные предметы на собственном оборудовании (варочных стойках, печках, столе зачарований).
Строительство дома немного проще чем строительство замка, но и тут стоит уделять внимание мелочам и быть очень аккуратным. А так же запастись терпением и материалами для строительства (что бы не вспоминать про добычу целой кучи материалов можно перейти в режим креатив).
1 шаг — Выбор типа дома
На первом этапе необходимо определится с типажом дома. Может вы мечтаете о красивом hi-tech доме или о небольшом, уютном домишке, а может и вовсе хотите секретное подземное убежище?
2 шаг — Выбор места для строительства
Отличным и необычным вариантом станет дом на воде, или же можно сделать домик отшельника высоко в горах а можно там же в горах отгрохать себе особняк как у Тони Старка. В общем на этом этапе необходимо так же остановиться и хорошенько подумать.


3 шаг — Строительство
После того как вы определились с конечным вариантом настала пора запастись материалом и приступить к постройке. Чуть ниже можно найти несколько вариантов пошаговых инструкций по строительству домов.
Простые домики за 5 минут
Вариант 1
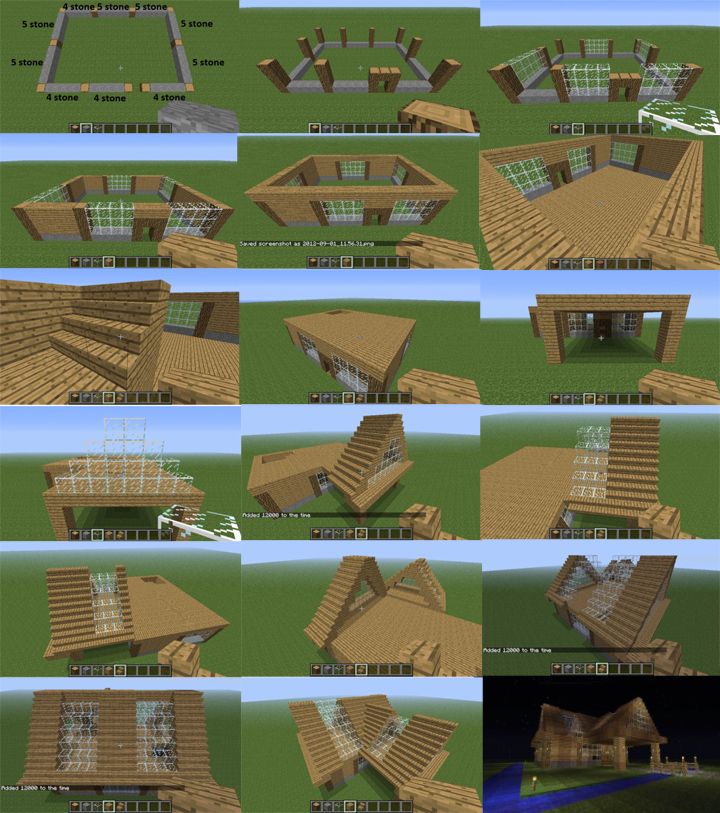
Вариант 2
Вариант 3

Hi-Tech дом — пошаговая инструкция
1. Строим двойную площадку из досок дуба размером 6×9;

2. Достраиваем на одной из сторон двойную площадку 4×2 блока;
3. Добавим небольшую площадку из из каменного кирпича;
4. На верх каменной площадки достраиваем площадку из досок;
5. Меняем один блок дубовых досок на блок каменных кирпичей;
6. Пристраиваем 2 колоны каменного кирпича и 1 панель размером 3×2;
7. Каменными ступеньками декорируем верхний выступ между каменными стойками;
8. В получившихся нишах высаживаем цветы;
9. Строим столбики из белого мрамора каждые 3 блока, размером 6 блоков в высоту;
7. Пристраиваем еще один столбик в 4 блока в высоту;
8. Соединяем все столбики вверху;
9. Внизу так же соединяем столбики между собой;
10. Делаем окантовку из белого мрамора так что бы блоки висели в воздухе (не лежали на досках);
11. Дублируем окантовку по верху;
12. С торца застраиваем стену блоками так что бы получились 2 ниши под окошки 2×1;
13. Застраиваем белым мрамором вход для того чтобы в дальнейшем вставить двойную дверь;
14. Делаем симпатичные перила из панелей черного стекла;
15. Стеклим все окошки панельками из черного стекла;
16. Застраиваем крышу так что бы осталась ниша 2×2 для окошка;
17. Делаем окантовку из досок, а саму нишу стеклим, то же самое делаем и со вторым окном;
18. Вставляем двойную дверь;
19. Строим вход с первого этажа и облагораживаем контур дома дубовыми листьями.
20. Наш Hi-Tech домик готов. Осталось обустроить его внутри.
Видео инструкция

Простой современный дом в Майнкрафт. Постройка двухэтажная

Небольшая начальная база для выживания в Майнкрафт.

Маленький деревянный домик в Майнкрафт. Постройка выглядит

Современный многоэтажный дом в Майнкрафт.

Красивый загородный дом у реки в Майнкрафт.

Огромный двухэтажный особняк в Майнкрафт.

Красивый дом кузнеца в Майнкрафт. Постройка небольшая

Красивый стартовый дом для выживания в Майнкрафт.

Простой и красивый домик в итальянском стиле для Майнкрафт.

Красивый двухэтажный домик для выживания в Майнкрафт.

Красивый современный дом для выживания в Майнкрафт.

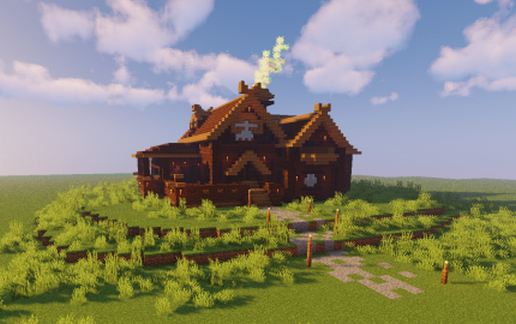
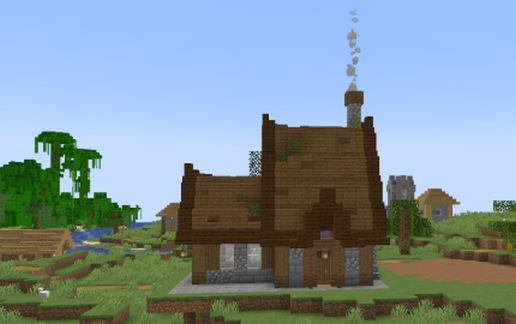
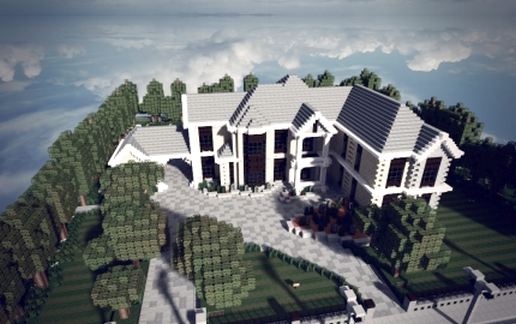
Большой средневековый особняк с башней в Майнкрафт.
Постройки
Строить обычные дома не сложно, а вот чтобы сделать «Механического робота» или «Средневековую крепость» потребуется много времени. Сейчас ты научишься быстро и легко создавать крутейшие постройки в мире Майнкрафт ПЕ. В каждом посте у тебя будет: план с указанием количества нужных блоков, 3D-модель готовой постройки в реальном мире и описание. А если не хочешь долго строить, то скачай schematic-файл и постройка появится в твоем мире. Удачного строительства!
Скачать Майнкрафт
По дате
- По популярности
- По дате
- По просмотрам
- По комментариям
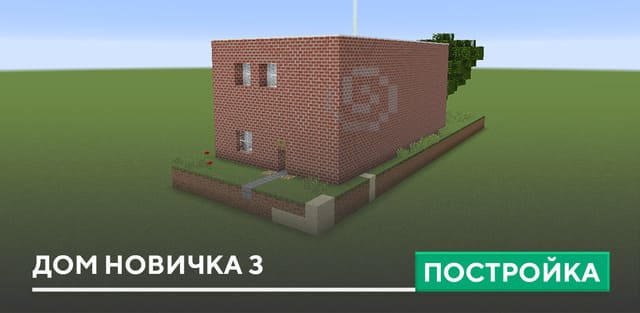
Постройка: Дом новичка 3
Простейший вариант дома в виде большой коробки из Кирпича. Внутри есть несколько комнат с подготовленной мебелью для старта выживания…
Постройки / Дом
6806 m³
28 ноя 2023
0
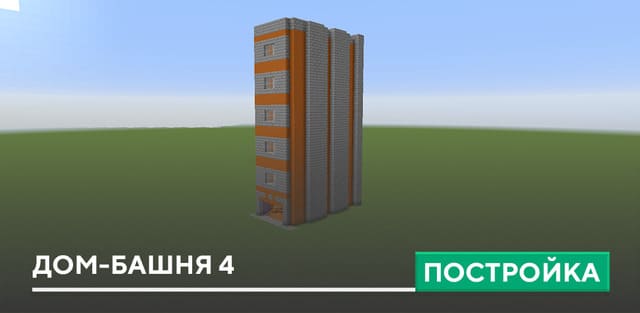
Постройка: Дом-башня 4
Большой домик в виде серо-оранжевой башни. Внутри есть несколько этажей, которые разделены на комнаты с мебелью и оформлением…
Постройки / Дом
6708 m³
28 ноя 2023
0

Постройка: Большой склад
Очень просторное и большое здание для проведение мероприятий или хранения материалов. Идеально подойдут для городов…
Постройки
6393 m³
27 ноя 2023
0
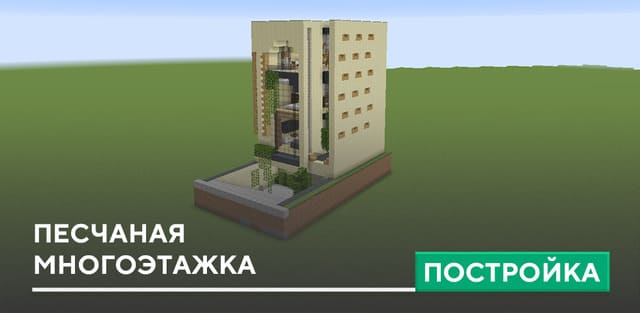
Постройка: Песчаная многоэтажка
Высокий вариант домика для жизни в кубическом мире. Сооружение состоит из нескольких этажей с полным обустройством…
Постройки / Дом
6393 m³
27 ноя 2023
0

Постройка: Большой корабль 2
Достаточно большой, проработанный вариант корабля для украшения мира. Есть большие паруса, комнаты и многое другое…
Постройки / Другое
8288 m³
26 ноя 2023
1
![]()
Пиксель арт: Гиратина
Большой пиксель арт Гиратина из вселенной Покемонов. Персонаж получился проработанным, ярким и красочным. Очень красиво…
Постройки / Пиксель арт
3883 m³
23 ноя 2023
0
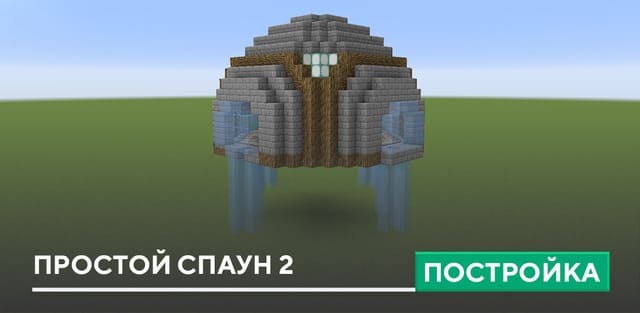
Постройка: Простой спаун 2
Аккуратный вариант спауна для жизни в игровом мире. Хорошо подходит для небольших серверов. Все скромно и удобно для жизни…
Постройки / Другое
965 m³
23 ноя 2023
0

Пиксель арт: Ангел Кенни
Огромный пиксель арт одного из самых знаменитых персонажей сериала «Южный парк». Сооружение смотрится сногсшибательно…
Постройки / Пиксель арт
39262 m³
22 ноя 2023
0
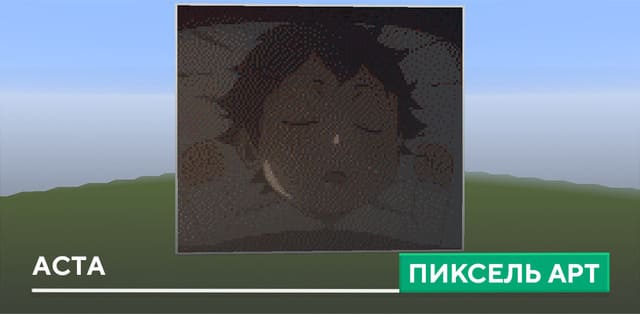
Пиксель арт: Аста
Большой пиксель арт персонажа Аста из аниме и манги «Черный клевер». Герой сделан в свой молодой форме. Все реалистично и красиво…
Постройки / Пиксель арт
13843 m³
22 ноя 2023
0

Постройка: Старое укрепление
Проработанная версия крепости из Камня и Кирпича. Хорошо подходит для создания своих укреплений. Внутри есть камины и другие украшения…
Постройки / Замок
12852 m³
21 ноя 2023
0
1 2 3 … 259
Актуальные версии
Minecraft PE 1.20
Minecraft PE 1.19
Minecraft PE 1.18
Minecraft Live 2023
Полезно
ToolBox 5.4.54
BlockLauncher 1.27
Как установить мод/аддон?
Как установить текстуры?
Как установить карту?
Как установить скин?
Популярное

Майнкрафт ПЕ 1.20
Последняя версия Майнкрафт
![Мод: Furnicraft - Предметы интерьера [RUS]](https://mcpehub.org/uploads/posts/2021-04/1618811076_furnicraft-3d-block-main.jpg)
Мод: Furnicraft — Предметы интерьера [RUS]
![ToolBox 5.4.55 [RU]](https://mcpehub.org/uploads/posts/2021-09/1631196818_preview-toolbox.jpg)
ToolBox 5.4.55 [RU]

Мод: Настоящее выживание в зомби-апокалипсисе
![]()
Download Article
![]()
Download Article
Some Minecraft players prefer to play in a nomadic style, but if you are a beginner, it’s best to start off with a home. A home protects you from hostile mobs, lowering your chances of death. This guide will make your small dirt shack of thing of the past!
-

1
Decide on what style house you would like to make. There are multiple styles you can use for your builds in creative mode, but we will stick to the six basic styles if you’re playing in survival. (The styles will be listed from top to bottom of the screenshot).
- Classical- Classical builds are mainly composed of large amounts of quartz, and feature large amounts of white blocks from the monochromatic scale. These builds typically have large pillars, vaulted ceilings, and slanted roofs.
- Modern- Modern builds are also composed largely of quartz. However, these builds feature buildings composed mainly of geometric shapes, and flat, clean surfaces.
- Historical- Historical builds are mainly composed of sand-based blocks and different varieties of stone. As their names suggest, they focus on ancient buildings, many of which are dilapidated.
- Industrial- Industrial builds are focused mainly along with the use of manufactured blocks, such as iron blocks, trapdoors, and glass. They are based around factories, and also support a geometric shape.
- Steampunk- Steampunk builds revolve mainly around structures with clockwork. They feature similar blocks to a rustic theme but typically have higher-pitched roofs, along with smaller ground floors than upper floors.
- Rustic- Rustic builds are among the most common, and feature typically small, cozy cottage builds. They use a large array of natural blocks such as wood and stone. They are also the most basic structures to build.
-
2
Find a suitable location for your build. You generally want to build in a biome where the surrounding blocks are similar to those you’re using in your build. You don’t want to build a historical temple in a forest; likewise, you wouldn’t want a classical house on the top of a mountain.
Advertisement
-
3
Think about if you will use any other blocks in the color wheel. Aside from the blocks you will mainly use for your build, think about what other blocks you will use to add color to your build. (The colors will be listed from top to bottom of the screenshot).
- Analogue- Analogue colors are the most basic scheme, and revolve around two colors that are adjacent to each other on the color wheel.
- Complementary- Complementary colors are composed of two colors located on the opposite side of the color wheel. They will contrast dramatically but allow for a stunning final effect.
- Triadic- Triadic colors are perhaps the most complicated. They are composed of three colors equally spaced out on the color wheel. An example of this would be Redstone blocks, yellow glazed terracotta, and blue wool.
- Monochromatic- Monochromatic scales revolve around the spectrum of colors between black and white. Both of these contrast well and are helpful in balancing lots of colorful blocks.
-
4
Decide on what light fixtures you will use. You will need light to prevent any mobs from spawning in your house, and they can also provide a stunning effect if used correctly.
- You always want a light level above 7, as mobs can spawn on any solid blocks with a light level below 7.
- Experiment! Blocks like torches and lava are well known to give off light. However, blocks such as brown mushrooms, dragon eggs, and ender chests also give off light too.
-
5
Set up a small base. You don’t need too many items, just the basics. A bed, crafting table, furnace, a couple of chests, and a stonecutter, to help make certain stone-based blocks.
- You can also surround your base with a wall, although it is not needed if you go to sleep before the sun fully sets and mobs spawn.
-
6
Gather your materials. You may not have full diamond or enchantments yet, so it may be best to build your final house once you obtain these. Gathering your materials can take hours on end, and it may be easier to make a temporary house before your final one.
- Some materials for certain styles are harder to obtain than others. Therefore, if you don’t want to risk going to the Nether for things like quartz, consider making a house with a different style, such as steampunk or rustic house.


Advertisement
-
1
Lay out your primary structure for your house. This will provide you with your basic template for your build.
- Its easy to expand your house later, but not to shrink it. Think about how much space you want beforehand.
-
2
Form your walls. You could fill in all the walls and add windows later, but if you’re short on materials, forming where your windows will go first is better.
- You don’t have to make you house one big cube. Think about adding varying window shapes and roof heights for later.
-
3
Build your roof and floor. Using the desired material of your choice, fill in your roof and dig out your floor.
- You can use varying types of flooring across your house, but for a symmetrical look, stick to one type of flooring.
-
4
Fill in you windows. You can stick to normal glass if you like, although stained glass and stained glass murals will often add a pop of color to your builds.
-
5
Add lighting to your house. You never want that unexpected creeper to spawn inside your house. You always want a light level above 7 to prevent any mobs from spawning. To distinguish you light level, press F3 or Fn + F3 (for Macs) and look for the block light, located right beneath the direction you are facing.
-
6
Add a staircase. The staircase can be anywhere you would like in your house, or wherever you feel is most comfortable.
- Spiral staircases are typically best for small spaces, while large, grand staircases can be used for large spaces.
-
7
Start forming your second story. You almost always will need a second floor for more space, and adding a second floor will give you more depth in your build, as well as a grander looking house.
- Your second story doesn’t always have to be the same size as you ground floor. You can make it bigger or smaller, depending on your needs.
-
8
Fill in your walls. As you fill in your walls, remember to keep in mind where you will add both your windows and maybe a third story.
-
9
Form your roofline and third story. This step can be especially hard if you’re making a smaller third story. The general rule is to always form the base of the third story first. You want to have the third story define the roof, not the other way around.
- If you feel that a third story is unneeded, simply place down your entire roof.
-
10
Add lighting. Once again, you never want mobs spawning inside. Make sure to use F3 to check your light level inside your house.
-
11
Place down your walls and windows. Decide where you want your walls and windows. Especially if you’re on the third story, consider using partial blocks such as stairs, trapdoors, and slabs to add more depth the top of your house.
-
12
Insert your lighting once more. Don’t forget to experiment with ideas. By combining chains and lanterns in this tall room, a stunning effect is produced.
-
13
Light up your roof. Mobs can spawn on your roof, as long as it’s not composed of any partial or transparent blocks. To prevent mobs from spawning, light up your roof, as you don’t want to get a creeper jumpscare just before you enter your house.
- Remember to use F3 to check the light level. The same rules apply for the outside too.


Advertisement
-
1
Dig out a pool. Although it’s mainly for detail, a pool is a great exterior item to have, and will match nicely on houses built in dry places, such as deserts and savannas.
- You need to light up the interior of your pool. If you pool has a light level below 7, Drowned can spawn, and can potentially kill you in large swarms. A great way to light up your pool would be to use sea lanterns.
-
2
Eliminate any nearby mountains or hills. Unless you need you base to be hidden, remove any nearby hills, to provide yourself with a clear view of your surroundings.
-
3
Add a doorbell. Bells can be used both decoratively and functionally. They are relatively hard to obtain in survival, and can only be found in villages, ruined portals, and through trading.
-
4
Form mosaic floors. This is especially easy if you’re in a mesa. Using hardened clay or concrete, lay down colorful patterns wherever you please. This can help break up the large amounts of base blocks used in your house.
- Wool can also be used, but remember wool has a low blast resistance and is flammable.
-
5
Insert planters. Flower plants can be used on the exterior on your house, and will also add both depth and colorful tones to your build.
- You want to use flowers that are the complete opposite color scheme that your house is. This will provide you with contrasting colors, and bring out the house a bit more.
-
6
Plant some trees. Trees will add the natural element you house needs, no matter where you are. Choose the type of tree you think will be suitable in your current biome.
-
7
Add light posts around your house. This will prevent mob spawns around your house. You can use basic fence posts and lanterns, to gigantic beacons of fire and lava fountains. The choice is yours!
-
8
Make a defense. A very basic defense would be to dig a 1×1 moat around your property, and line it with berry bushes. When mobs come into contact with these, they are unable to jump out, and will take damage when they move.
- You can also build a wall around your property, although it takes much more resources. You will also need to add an overhang to prevent spiders from climbing over.


Advertisement
-
1
Make a pop-up enchantment room. We all need to enchant our items, so why not use a bit of redstone and make an enchantment table that appears when you need it!
- You will need at least 16 bookshelves to get a level 30 enchantment table.
-
2
Add some utilities. You generally want at least 8 blast furnaces and smokers, and 4 furnaces. This is to fully utilize your the amount of space you have, and to quickly smelt items, especially if you plan on mining for long periods of time.
-
3
Make some storage. By placing chests horizontally from your walls and labeling the ends with items frames, you can make a clever storage system for all your necessities.
- You can also use barrels, but they take up more space and are generally less practical than chests unless used in tight spaces.
-
4
Place down a lodestone. A lodestone is a device that will reset where your compass points in your Overworld. Although you should mark down your base coordinates in the real world, a lodestone is a nice thing to have.
-
5
Use your other utilities. Along with your furnaces, you will also need other tools to get around.
- You generally want an anvil, smithing table, a stonecutter, a grindstone, and a loom to get around. You can also include a fletching table and cartography table, although they aren’t used that often and are therefore not really necessary.
-
6
Form your bedroom. You obviously want your bed(s), and other great things to add would be armor stands, an ender chest, and more chests to store your most valuable items.
-
7
Add a potion laboratory. Unless you are making a completely separate building specifically for potions, consider adding an area for making potions, with all the essential ingredients.
- Potions, although they are rarely used in survival, can be helpful at some points during boss fights, and can be used to get rare advancements.
-
8
Expand and explore! Make a bigger house! Add that crop farm! Your choices in Minecraft are endless, and it’s up to you to form your destiny.


Advertisement
Add New Question
-
Question
How many days does it take to build a mansion in survival?

Ziggy102464
Community Answer
It could take anywhere from a day to a couple of months, depending on how long you’re playing and how long it’s taking you to get the materials.
-
Question
So if cobblestone & bricks have 30% blast resistance, couldn’t I just make an obsidian bunker instead?
Ziggy102464
Community Answer
Yes, you could, but getting the obsidian is hard unless you’re in creative.
-
Question
Will people mine my house if it is made of diamond blocks?
Ziggy102464
Community Answer
It depends. If you are the host of the world, they might not because they could get kicked. If you are an ordinary player, they might, because it’s diamonds.
See more answers
Ask a Question
200 characters left
Include your email address to get a message when this question is answered.
Submit
Advertisement
-
When placing a bed, make sure it has some space around it so you can get to it easily and you won’t suffocate when you wake up.
-
Brick and cobblestone have a higher blast resistance than blocks such as dirt and glass.
-
Digging a house on the side of a mountain is normally a good starting point.
Show More Tips
Thanks for submitting a tip for review!
Advertisement
-
Do not put your bed directly in front of the door. Not only will this make it difficult for you to go in and out of the house, but you might wake up to see a spider trying to kill you.
Advertisement
About This Article
Article SummaryX
To make a house in Minecraft, start by selecting a location for your house, then make a bed on the ground. Build a temporary shack around your bed to protect you, then sleep in the bed after nightfall. Next, place a chest on the ground to store your building items and start gathering your house materials. Then, dig out the foundation, lay the floor, and build the walls with your gathered materials. Add a roof on top and place your bed inside. If you want to personalize your house, consider adding windows or a walkway! For tips on how to light your house with torches, keep reading the article!
Did this summary help you?
Thanks to all authors for creating a page that has been read 841,132 times.