

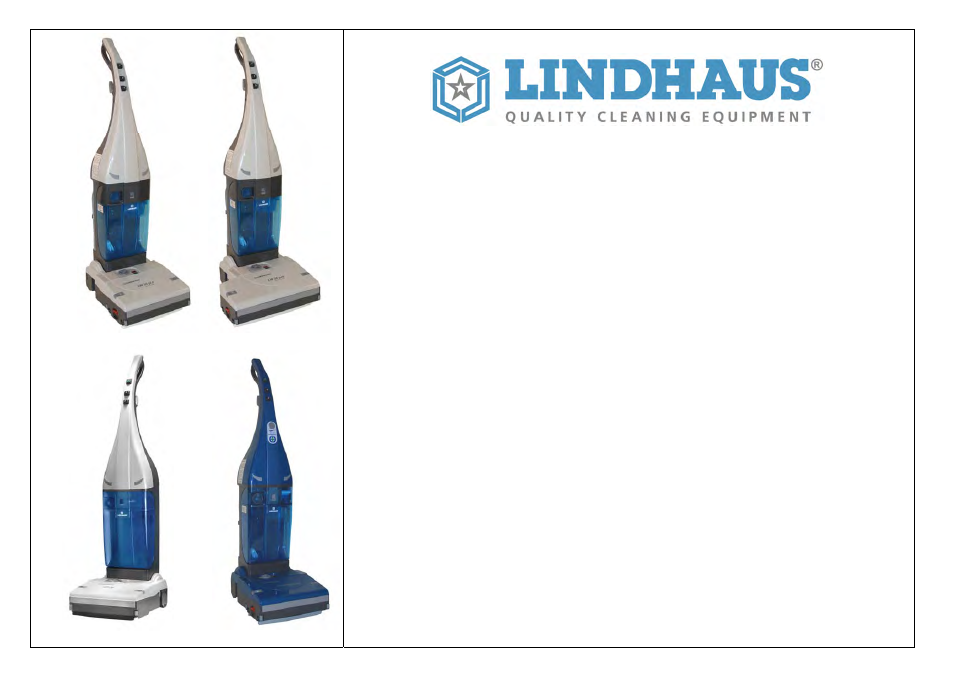
LW30 pro LW38 pro
LW30 – Lavinia LindWash 30 Class A
Scrubber drier LW 30pro — 38pro
LW 30 pro (12″) Models: 15 12 01 06 V.230 — 240/50
15 12 12 V.120/60
15 12 24 V.100/55
LW 38 pro (15″) Models: 15 15 01 06 V.230 — 240/50
15 15 12 V.120/60
15 15 24 V.100/55
Scrubber Drier
Atmospheric Water Injection (without pump)
LW 30pro — 38pro
LW 30 pro (12″) Models: 15 12 01 06 AWI V.230 — 240/50
15 12 12 AWI V.120/60
15 12 24 AWI V.100/55
LW 38 pro (15″) Models: 15 15 01 06 AWI V.230 — 240/50
15 15 12 AWI V.120/60
15 15 24 AWI V.100/55
Scrubber Drier LW 30 – Lavinia
LindWash 30
Class A
LW 30 (12″) Models: 15 12 01 06 V.230 — 240/50
15 12 07 V.120/60
15 12 24 V.100/55
OWNERS GUIDE AND PARTS MANUAL
ISTRUZIONI PER L’USO E LISTA DELLE PARTI DI RICAMBIO
BEDIENUNGSANWEISUNG UND ERSATZTEILLISTE
MODE D’EMPLOI ET PIÈCES DE RECHANGE
INSTRUCCIONES PARA EL USO Y PIEZAS DE RECAMBIO
07/2012
LW30 pro LW38 pro
LW30 – Lavinia LindWash 30 Class A
Scrubber drier
LW 30pro — 38pro
LW 30 pro (12″) Models:
15 12 01
06 V.230 — 240/50
15 12 12 V.120/60
15 12 24 V.100/55
LW 38 pro (15″) Models:
15 15 01
06 V.230 — 240/50
15 15 12 V.120/60
15 15 24 V.100/55
Scrubber Drier
Atmospheric Water Injection (without pump)
LW 30pro — 38pro
LW 30 pro (12″) Models:
15 12 01
06 AWI V.230 — 240/50
15 12 12 AWI V.120/60
15 12 24 AWI V.100/55
LW 38 pro (15″) Models:
15 15 01
06 AWI V.230 — 240/50
15 15 12 AWI V.120/60
15 15 24 AWI V.100/55
Scrubber Drier
LW 30 – Lavinia
LindWash 30
Class A
LW 30 (12″) Models:
15 12 01
06 V.230 — 240/50
15 12 07 V.120/60
15 12 24 V.100/55
OWNERS GUIDE AND PARTS MANUAL
ISTRUZIONI PER L’USO E LISTA DELLE PARTI DI RICAMBIO
BEDIENUNGSANWEISUNG UND ERSATZTEILLISTE
MODE D’EMPLOI ET PIÈCES DE RECHANGE
INSTRUCCIONES PARA EL USO Y PIEZAS DE RECAMBIO
07/2012
(3) Lindhaus LW30 pro Scrubber User Manuals and Instructions
Scrubber:
More Instructions:
- Taski swingo XP CO75XP.2
- LindWash 30
- LW38 eco FORCE
- ATS 46
- 21 15 30
- LindWash 30 Class A
- CT51-71 B
- 97561
- PB24
Related Manuals for Lindhaus LW30 pro:
Categories of Lindhaus Devices:
Kitchen Appliances
Vacuum Cleaner
Scrubber
Floor Machine
 |
[Page 1] Lindhaus LW30 pro LW30 pro LW38 pro LW30 – Lavinia LindWash 30 Class A Scrubber drier LW 30pro — 3… |
 |
[Page 2] Lindhaus LW30 pro TABLE OF CONTENTS Important safety instructions 3 Grounding instructions 4 Know your machine 5 Assembly instructions 6 — 7 Operat… |
 |
[Page 3] Lindhaus LW30 pro WHEN USING AN ELECTRICAL APPLIANCE, BASIC PRECAUTIONS SHOULD ALWAYS BE FOLLOWED, INCLUDING THE FOLLOWING Read these operating instructions carefully 1.Use the machine on hard surfaces and only moistened by the cleaning process. 2. Do n… |
 |
[Page 4] Lindhaus LW30 pro FOR U.S.A. and CANADA COMMERCIAL MARKET ONLY Connect to a properly grounded outlet only. See grounding instructions. GROUNDING INSTRUCTIONS IN COMMERCIAL SITUATIONS W… |
 |
[Page 5] Lindhaus LW30 pro KNOW YOUR MACHINE Handle grip Water pump / electrovalve switch Vacuum motor switch Main switch Dosing cap Tank release button Brush pressure adj. knob Electronic control lens Top cover slide latches Side whee… |
 |
[Page 6] Lindhaus LW30 pro ASSEMBLY INSTRUCTIONS Insert the f e mal connector located inside the handle/electric panel, on the male connector located on top of the vertical body until the two side safety hooks snap in. … |
 |
[Page 7] Lindhaus LW30 pro Insert the aesthetic rubber cups on top of the 4 screws. Hook the cord in the upper anti stress hook located below the swivel upper cord hook After use, always disconnect the … |
 |
[Page 8] Lindhaus LW30 pro B. Fill the dosing cap until the indicated level (26ml = 1%) with the Lindhaus detergent suitable to the floor to be washed. Pour the content of the cap into the clean water tank and close the tank with the same cap. … |
 |
[Page 9] Lindhaus LW30 pro BRUSH HEIGHT ADJUSTMENT Your Lindhaus scrubber has various safety devices to protect the components from damages due to overload. The electronic circuit that activates the red light on the base indicates that the motor is overloaded… |
 |
[Page 10] Lindhaus LW30 pro SPRAY / EXTRACTION KIT (optional only on pump version) Your scrubber is also a handy upholstery washer. Rotate the connector blocking lever upwarts. Pull out the connector energically. NEVER REMOVE THE CON… |
 |
[Page 11] Lindhaus LW30 pro CAUTION ! ALWAYS DISCONNECT THE POWER CORD BEFORE PERFORMING ANY MACHINE MAINTENANCE. After using the machine it is important to effect some easy maintenance operations in order to assure the ma… |
 |
[Page 12] Lindhaus LW30 pro Wash the filter under running room temperature water and wring it so that the water can flow out. In order to speed up the drying, you can use compressed dehumidified air. Do not remount the filter befor… |
 |
[Page 13] Lindhaus LW30 pro 6. REPLACEMENT OF THE SUCTION NOZZLES The front and the rear suction nozzles can be purchased in a kit at authorised Lindhaus dealers. The replacement is easy and the nozzle group does not have to be dismounte… |
 |
[Page 14] Lindhaus LW30 pro 9. REPLACEMENT OF THE BRUSH ROLLER REMOVE THE TANK Put the machine on the left side. Rotate the side support counterclockwise. Push the brush roll up against the support and remove the support. Put back the brush ro… |
 |
[Page 15] Lindhaus LW30 pro 15 |
 |
[Page 16] Lindhaus LW30 pro 16 |
 |
[Page 17] Lindhaus LW30 pro SPARE PARTS LIST — LISTA PARTI DI RICAMBIO — LISTE DER ERSATZTEILE LISTE PIÈCES DE RECHANGE — LISTA PIEZAS DE RECAMBIO Part. DESCRIPTION Part. DESCRIPTION Part. DESCRIPTION LW 1 Base housing 30 — 38 LW 46 Right mot. hous. support… |
 |
[Page 18] Lindhaus LW30 pro SPECIFICATIONS Suction body -Voltage (see data place on the machine) — By-Pass Vacuum motor input power 800W — Bar type commutator — Rotor assembled on two ball bearings — Double insulation Protection: IPX 4 Ground wire for USA… |
 |
[Page 19] Lindhaus LW30 pro 19 |
 |
[Page 20] Lindhaus LW30 pro COMMON PROBLEMS BY USING THE MACHINE WHICH CAN BE EASILY SOLVED 1. WITH THE PUMP ON WATER DOESN’T COME OUT FROM THE CABLE TRAY ABOVE THE ROLL a. check that the detergent tank contains clean water without foam (page |
 …
… |
[Page 21] Lindhaus LW30 pro 4. THE MACHINE DOESN’T DRY PERFECTLY AND LEAVES WET STRIPES a. check that the front and rear squeeges are clean and not too worn (page 14) b. check the roll pressure height. If the base is too much lifted, the roll d… |
 |
[Page 22] Lindhaus LW30 pro … |
 |
[Page 23] Lindhaus LW30 pro Lindhaus garantiza a los clientes originales (directos compradores) solamente que cada nueva aspiradora estará exenta de defectos en material y fabricación antes de la entrega. La responsabilidad de Lindhaus y el recurso exclusivo … |
 |
[Page 24] Lindhaus LW30 pro … |
 |
[Page 25] Lindhaus LW30 pro … |